Raspberry PiをFirewall/NAT越しにWebアプリケーションを公開する【ngrok】
RaspberryPiなどでWebアプリケーションを使用しているとルータなどの環境ではネットワークのポート開放などをしないとWebアプリケーションの公開ができないというのがちょっと残念なことが多くあります。
以前もSlackのWebhookを使用したbotの作成時にはルータのポート開放をやるのが非常に手間だったという印象です。
先日行った勉強会でngrokというものを教えていただき、この悩みが解決しましたのでメモとしておいておきます。
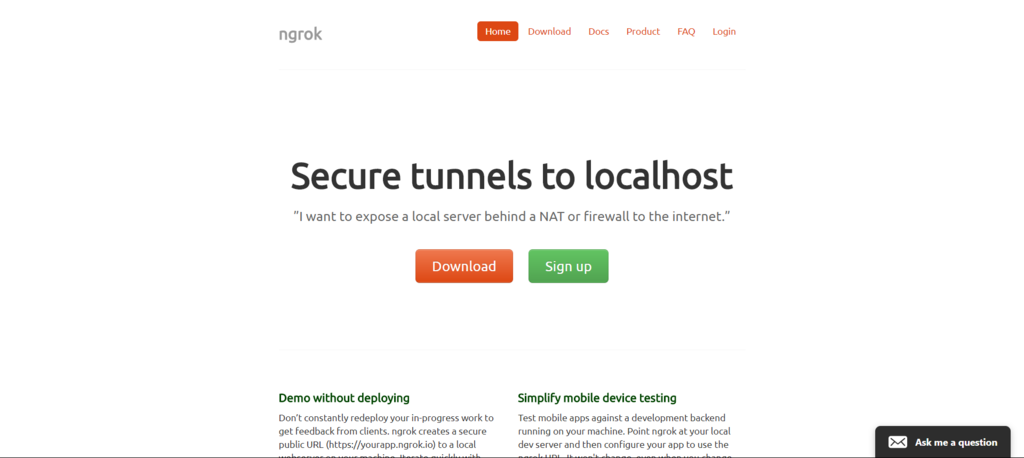
Secure tunnels to localhost
簡単にいうとプログラムを起動すると、ngrok.com側に登録し、更にローカルホスト側にサービス経由でトンネルを開けてくれるサービスになります。
インストールの準備
インストールは簡単でバイナリをダウンロードするだけです。RaspberryPiの場合にはLinux ARMをダウンロードすることになります。
上記のリンクにバイナリのダウンロードリンクがあります。
ページにアクセスして
下にスクロールすると出てきます。
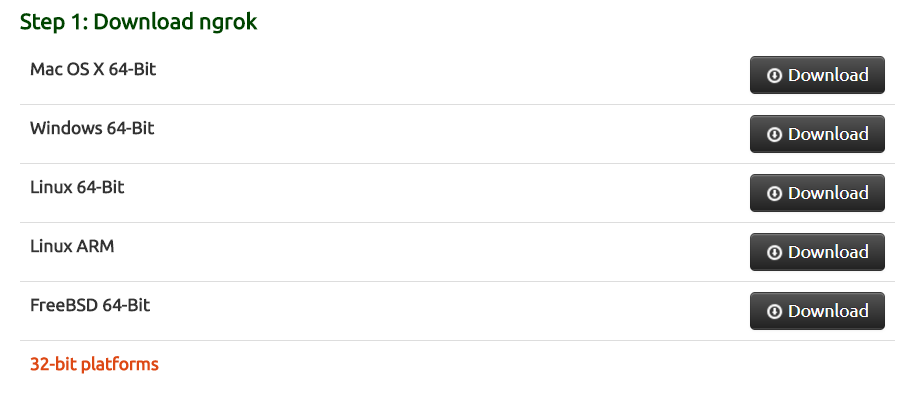
ダウンロードが終わったら、unzipして展開します。基本的にはこれだけで終了です。Pathの通ったところにコピーするなどすれば便利かと思います。
$ ls
ngrok-stable-linux-arm.zip
$ unzip ngrok-stable-linux-arm.zip
Archive:  ngrok-stable-linux-arm.zip
  inflating: ngrok
起動するかを実験してみます。
$ ./ngrok help
NAME:
   ngrok - tunnel local ports to public URLs and inspect traffic

DESCRIPTION:
    ngrok exposes local networked services behinds NATs and firewalls to the
    public internet over a secure tunnel. Share local websites, build/test
    webhook consumers and self-host personal services.
    Detailed help for each command is available with 'ngrok help <command>'.
    Open http://localhost:4040 for ngrok's web interface to inspect traffic.

EXAMPLES:
    ngrok http 80                    # secure public URL for port 80 web server
    ngrok http -subdomain=baz 8080   # port 8080 available at baz.ngrok.io
    ngrok http foo.dev:80            # tunnel to host:port instead of localhost
    ngrok tcp 22                     # tunnel arbitrary TCP traffic to port 22
    ngrok tls -hostname=foo.com 443  # TLS traffic for foo.com to port 443
    ngrok start foo bar baz          # start tunnels from the configuration file

VERSION:
   2.2.6

AUTHOR:
  inconshreveable - <alan@ngrok.com>

COMMANDS:
   authtoken    save authtoken to configuration file
   credits      prints author and licensing information
   http         start an HTTP tunnel
   start        start tunnels by name from the configuration file
   tcp          start a TCP tunnel
   tls          start a TLS tunnel
   update       update ngrok to the latest version
   version      print the version string
   help         Shows a list of commands or help for one command
実験してみる
基本的には
ngrok 【プロトコル】 【portナンバー】
と実行すれば大丈夫です。 例えば、httpをポート80で公開するのであれば
$ ngrok http 80
となります。実行してみます。
今回は次の様に実行してみます。
$ ngrok http 8080
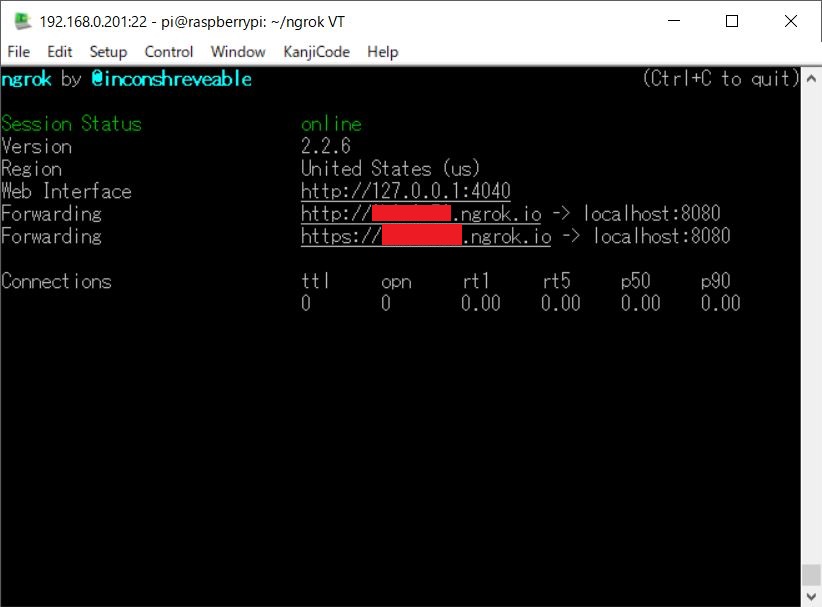
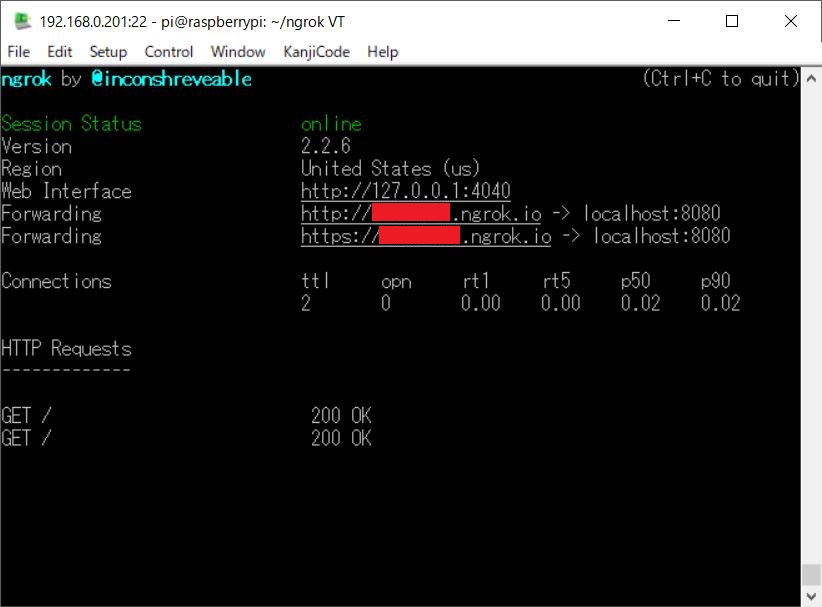
実行するとこのような画面になります。赤く四角のある部分にはランダムな文字列がngrok側から発行されます。このURLにアクセスを行うと公開ができるようになります。(もちろん、8080ポートに対応したプログラムがないと失敗しますので注意です)
では、アクセスの実験を行います。 サーバとしてはpythonのSimpleHTTPServerモジュールを使用します。
ngrokを起動したコンソールとは別のものを開いて以下の様に起動します。(-mはモジュール起動の際に必要になります)
$ python -m SimpleHTTPServer 8080
これで準備OKです。あとはクライアント側からアクセスを行います。まずはローカル環境からのアクセスを行ってみます。更にクライアント用のコンソールを開きcurlコマンドを使用してアクセスしてみます。実行すると以下の様になると思います。(実行するとサーバ側のカレントディレクトリ一覧が表示されるます。)
$ curl http://localhost:8080
<!DOCTYPE html PUBLIC "-//W3C//DTD HTML 3.2 Final//EN"><html>
<title>Directory listing for /</title>
<body>
<h2>Directory listing for /</h2>
<hr>
<ul>
<li><a href=".bash_history">.bash_history</a>
<li><a href=".bash_logout">.bash_logout</a>
<li><a href=".bashrc">.bashrc</a>
<li><a href=".cache/">.cache/</a>
<li><a href=".config/">.config/</a>
【中略】
</ul>
<hr>
</body>
</html>
【実行画面】
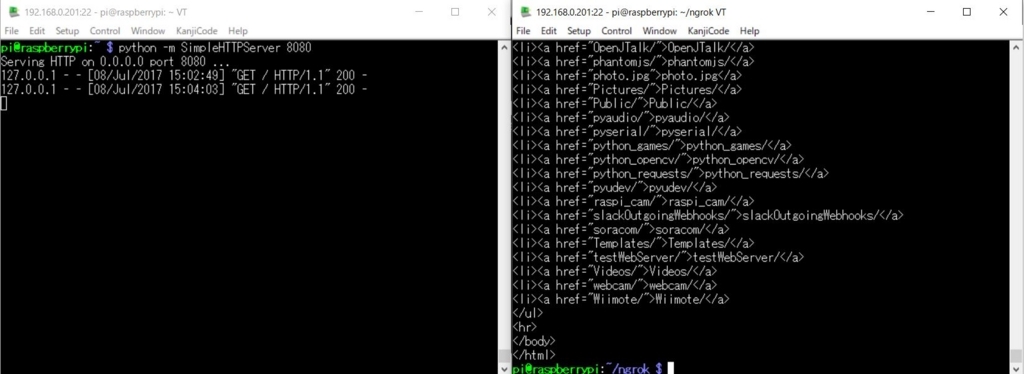
ローカルでのテストがうまくいったので、今度はngrok経由でアクセスを行います。ngrok起動時に表示されたURLに対してアクセスを行います。(*********はランダムな文字列です)
$ curl http://********.ngrok.io
<!DOCTYPE html PUBLIC "-//W3C//DTD HTML 3.2 Final//EN"><html>
<title>Directory listing for /</title>
<body>
<h2>Directory listing for /</h2>
<hr>
<ul>
<li><a href=".bash_history">.bash_history</a>
<li><a href=".bash_logout">.bash_logout</a>
<li><a href=".bashrc">.bashrc</a>
<li><a href=".cache/">.cache/</a>
<li><a href=".config/">.config/</a>
【中略】
</ul>
<hr>
</body>
</html>
【実行画面】
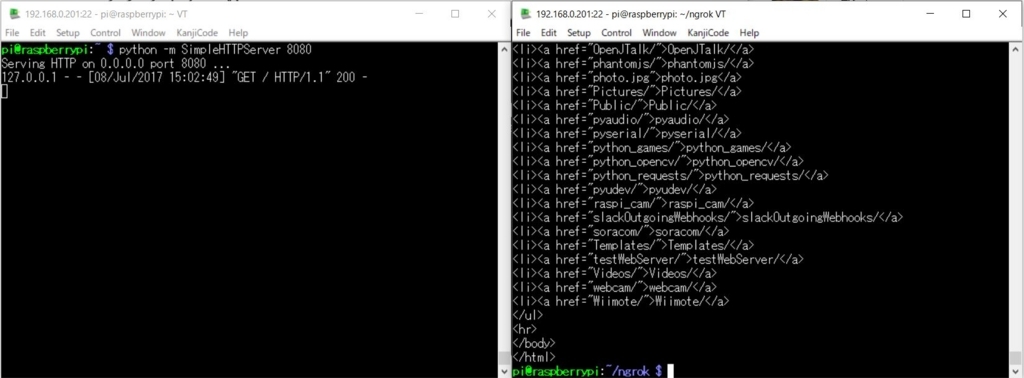
無事にアクセスしデータが取得できたと思います。
アクセスはngrokプロセス側にも以下の様に表示されます。
終わりに
ngrokを使用することでRaspberryPiで作成したWebアプリケーションを容易に公開することができました。開発時やハッカソンなどで短時間で公開したい場合にはかなり有効かなと思います。
ngrokはユーザ登録しない場合にはhttp(https)しか使用できませんが、ユーザ登録を行うとSSHやRDPなども使用できるようです。次回はそのあたりも行ってみようと思います。